
Your Cart is Empty

Nothing can compare to the elegance and class that traditional art possesses. If all that’s amply clear, here’s how to turn a drawing into a vector.
Some of the best works that garnered worldwide praise remain via traditional pen and paper. But keeping pace with modern tech, there will come a time when I would need to digitize my work.
That remains significant even if I may be a very talented painter or sketch artist. But that doesn’t mean that my traditional skills will go to waste.
Even when the world media functions through “all things digital,” strokes on a paper still hold value.
With that in mind, the article focuses on how to turn a drawing into a vector.
For a professional working in design to know how to turn a drawing into a vector.
More than a job requirement, it’s more like a very convenient skill that’s sure to help out. Not only does it make one more efficient, but it also opens up channels for making collaborations possible in the future.
But before I dwell on the steps, allow me to throw some light on the vitality of vectors.
One creates vectors by connecting one point to another, which then connects to more such points. Vectors don’t make use of pixels.
Instead, it uses relationships developed mathematically. Thus, by using vectors, it makes it possible for me to scale images much more quickly.
The result? I’m able to produce images that are better and sharper in terms of quality. That is, a lot clearer than the raster images that pixel creates.
Also, vector boasts of being much more web-friendly as compared to pixels.
The very first thing I must do is to draw a sketch. After that, I can even use my old drawings and turn them into vectors.
For starters, I advise using straightforward illustrations. And then, from there, buildup by using more complex drawings and converting them into vector graphics.
Regardless of the type of sketch I choose in the end, I’ll need to scan it. So another pointer here is to select illustrations that are easy enough for the illustrator to pick up.
For that, select a sketch or drawing with well drawn-out, clear, and dark outlines. Do not choose an illustration that has very light strokes. It’ll be challenging for the illustrator to make any sense of it.
Also, be wary of the coloration; it’ll pay dividends later on. Ensure that the colors are intense.
For such purposes, instead of a pencil, it’s better to employ colored markers.
Click a high-resolution picture of your illustration or scan it. However, for more efficiency, I would advise scanning it.
Don’t think of saving space. High-resolution designs take up a lot of space as these are better, detailed, and bigger images.
Pay attention to the contrast levels of the image; maintain a high contrast. Use monotone effects in the case of black and white pictures.
Go ahead and use Photoshop to trim all the rough edges and remove all unnecessary details. Make sure to get rid of the markings left behind by the strokes of the pencil.
To do that, make use of the eraser available in the options. Remember that the cleaner the illustration is, the higher the tracing quality.
At this point, it’s natural to wonder why do it now? It’s simple; these steps will significantly reduce the adjustments for the following procedures.
Don’t forget that stronger tracing requires a high-quality image. So tweak the outlines and make them stand out even more by using curves and levels.
In case of any flaws in the coloration, correct them. Once the design is ready, save it. Usually, the format used is in the form of a JPEG format.
To start tracing your design, run the Illustrator CS6. Once the app opens up, make use of a blank document.
After that, head to the top left section of the screen. To import the JPEG image, click on “Place.”
Go right ahead and choose the saved JPEG image. Once that’s done, head down to “Windows,” and click on the “Image Trace” tool.
By doing so, the tool will start running on your computer screen.
Before starting the tweaking process, ensure to select the preview function.
On the “Image Trace” tool, the presets are present. Click on that.
Check out all the presets that are available that best suit the design.
Also, frequently, the tracer doesn’t pick up the design efficiently. In such cases, look for a solution using the threshold and preset features.
This step of turning trace into paths is more of an automatic one. There’s no need to connect each point individually. That will take hours upon hours.
Click on “Expand.” It’s among the list of options in the top toolbar. The tool will connect all the points on its own.
The vector is ready. But still, further tweaks are possible such as adding more colors and so on.
In the case of work-related projects, it’s best to clean the design further right now.
Like I mentioned earlier, for crisp graphics, the initial detailing matters a lot. It’ll save a lot of trouble and time later on.
The Pen tool offers an excellent secondary alternative to the above processes. The device is also readily available in the Illustrator app.
It’s primarily to trace the illustrations manually.
The tool offers more control as compared to an Image Trace tool. That holds in the sense that the Pen tool allows precise tracking of the design.
Thus, by using the tool, I’m in more control of the pathing of the vector. To finalize the path and close it, press Esc.
That concludes the steps on turning a hand drawing into a vector. Were you able to follow through with the process? I would love to hear your thoughts on that.
Did I include all the crucial steps and follow the proper procedures?
Or probably I might’ve missed out and skimmed through few vital points.
Whatever it is, do let me know by leaving your comments on the “Comments” section. I would highly appreciate that.
Also, if you found it helpful, go ahead and share it with your friends to help them out.
Comments will be approved before showing up.
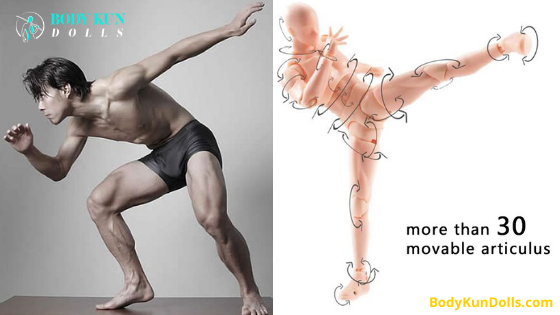

You're still looking to find the perfect pose to practice your figurre drawing art?
We've collected the best 7 drawing reference sources you can find online free and paid, here we have listed each and everything that you will need in your art journey in this quick guide.
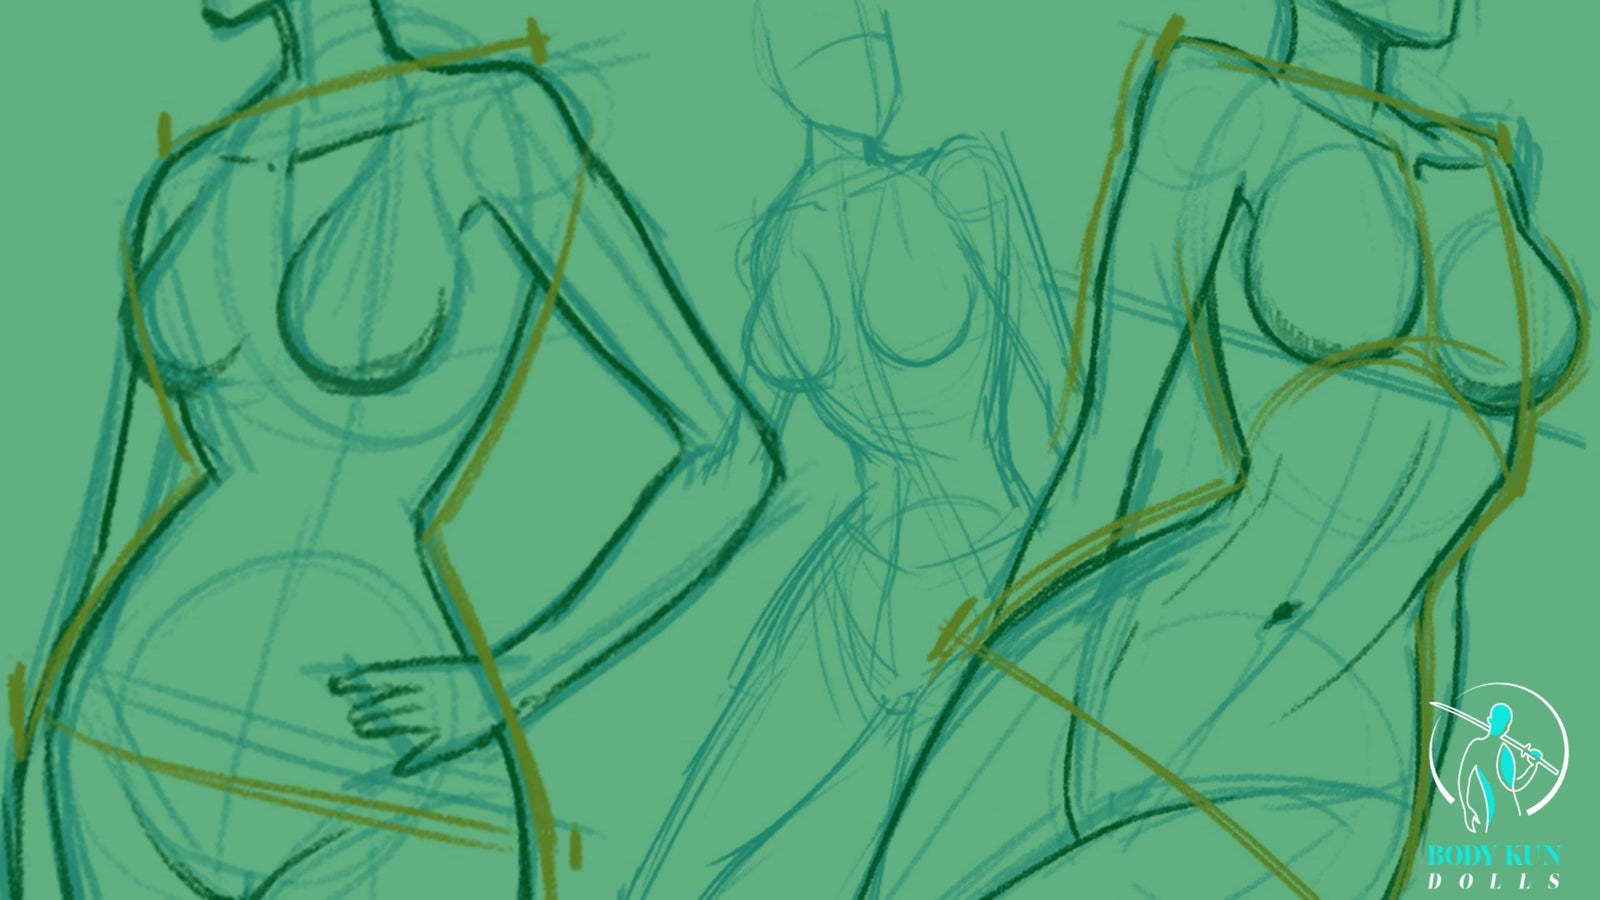
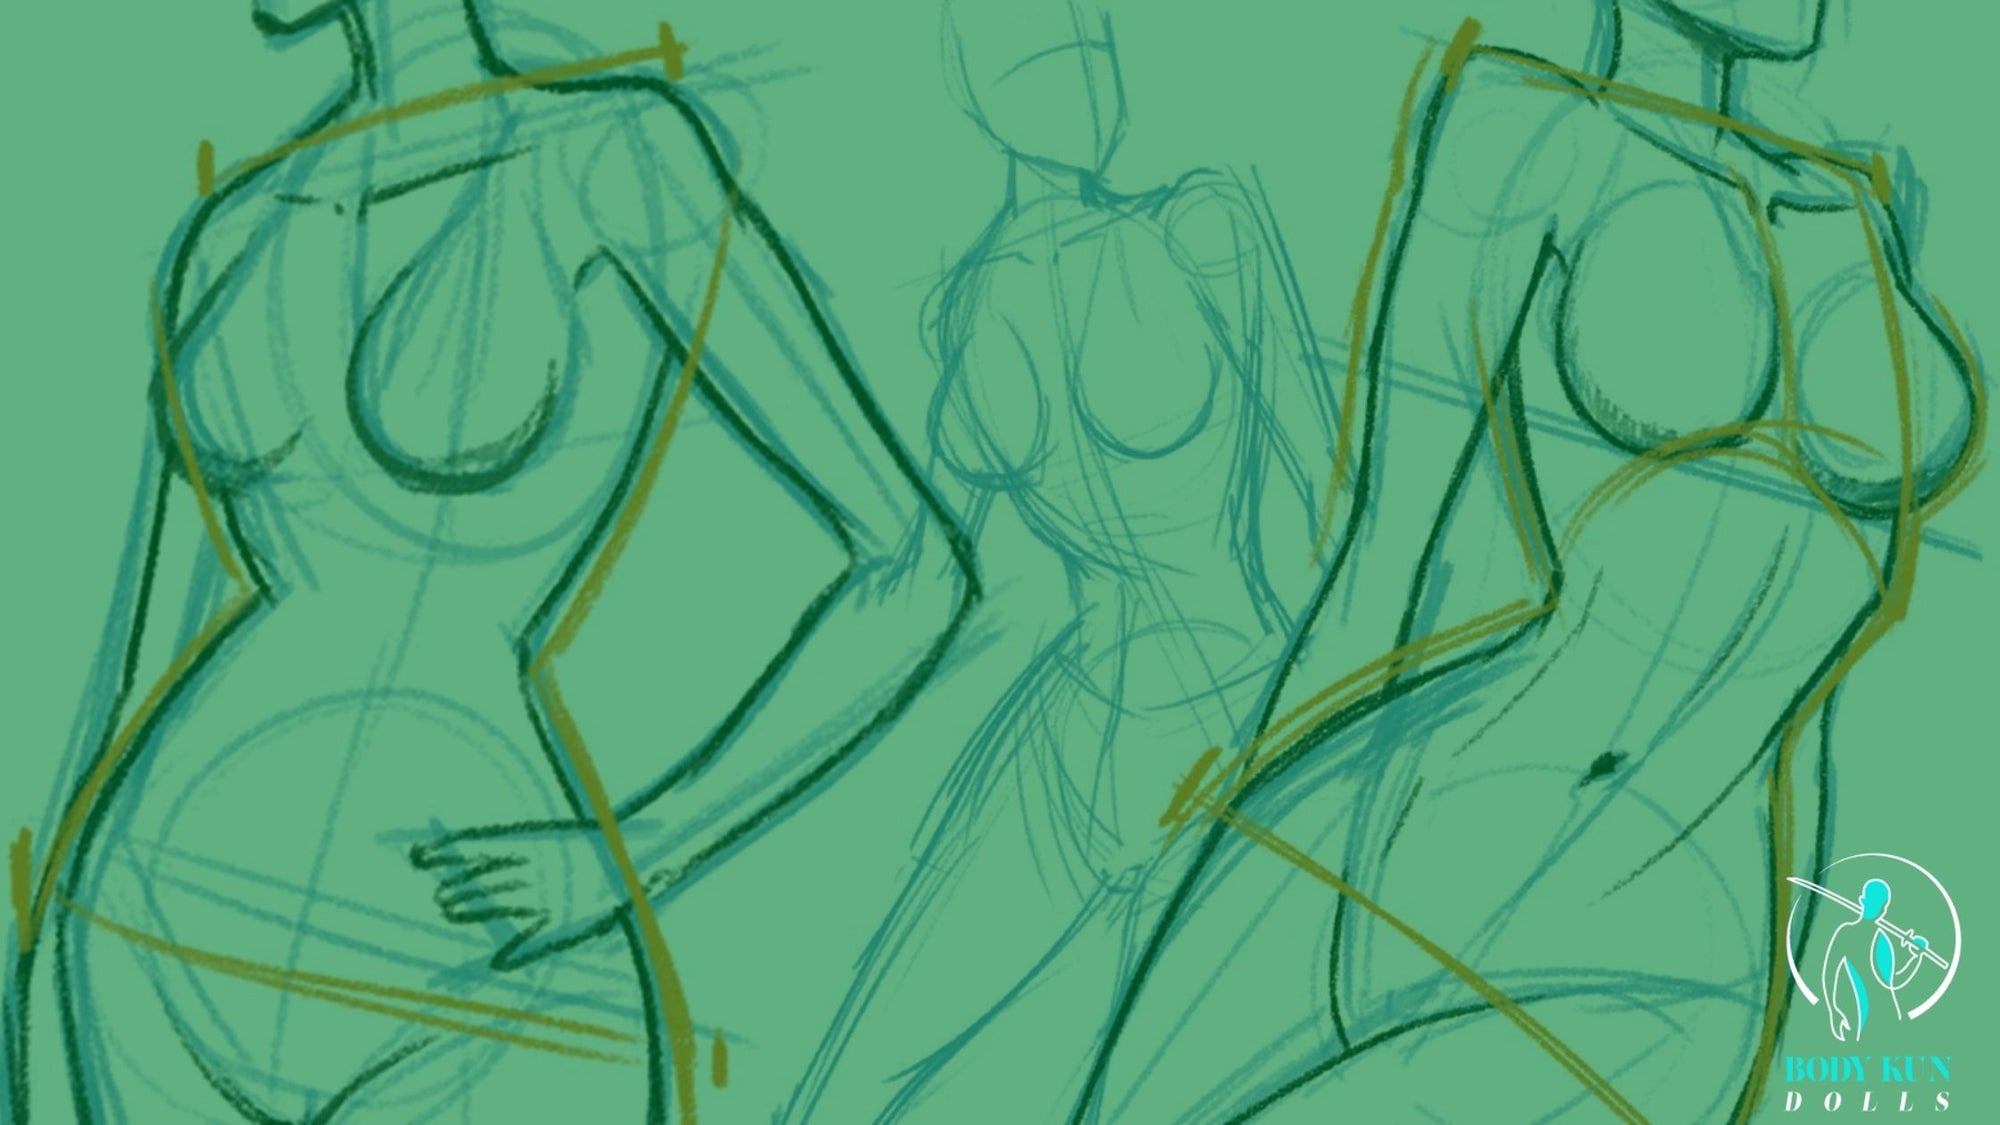
Do you wish to learn how to draw a female body realistically? If yes, then this article is for you!
This tutorial will provide you with seven easy steps to help you create an impressive realistic female body.


If you want to take your art to the next level, you’ll need to refine your skills in human anatomy. Your anatomical knowledge is crucial in shaping the structure and capturing the movement of your illustrations.
Expert painter Jenő Barcsay notes that you have to study bones, joints, and muscles to understand how they can affect one’s external appearance and range of motion.