
Your Cart is Empty
Do you wish to learn how to draw a female body realistically? If yes, then this article is for you!
This tutorial will provide you with seven easy steps to help you create an impressive realistic female body.
So, let's dive in!
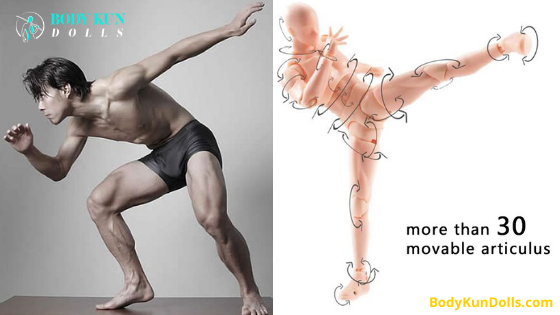
Remember, I'll start by creating a dummy as a base sketch, over which I'll make the final drawing.
Also, I'll be teaching you how to draw a female figure from a ¾ point of view. The reason why I'm going for a ¾ view approach is that it'll make your sketch seem less rigid and flat. Plus, it'll add three-dimensionality and depth to your drawing.
That said, here are seven simple steps to sketch a female figure realistically:
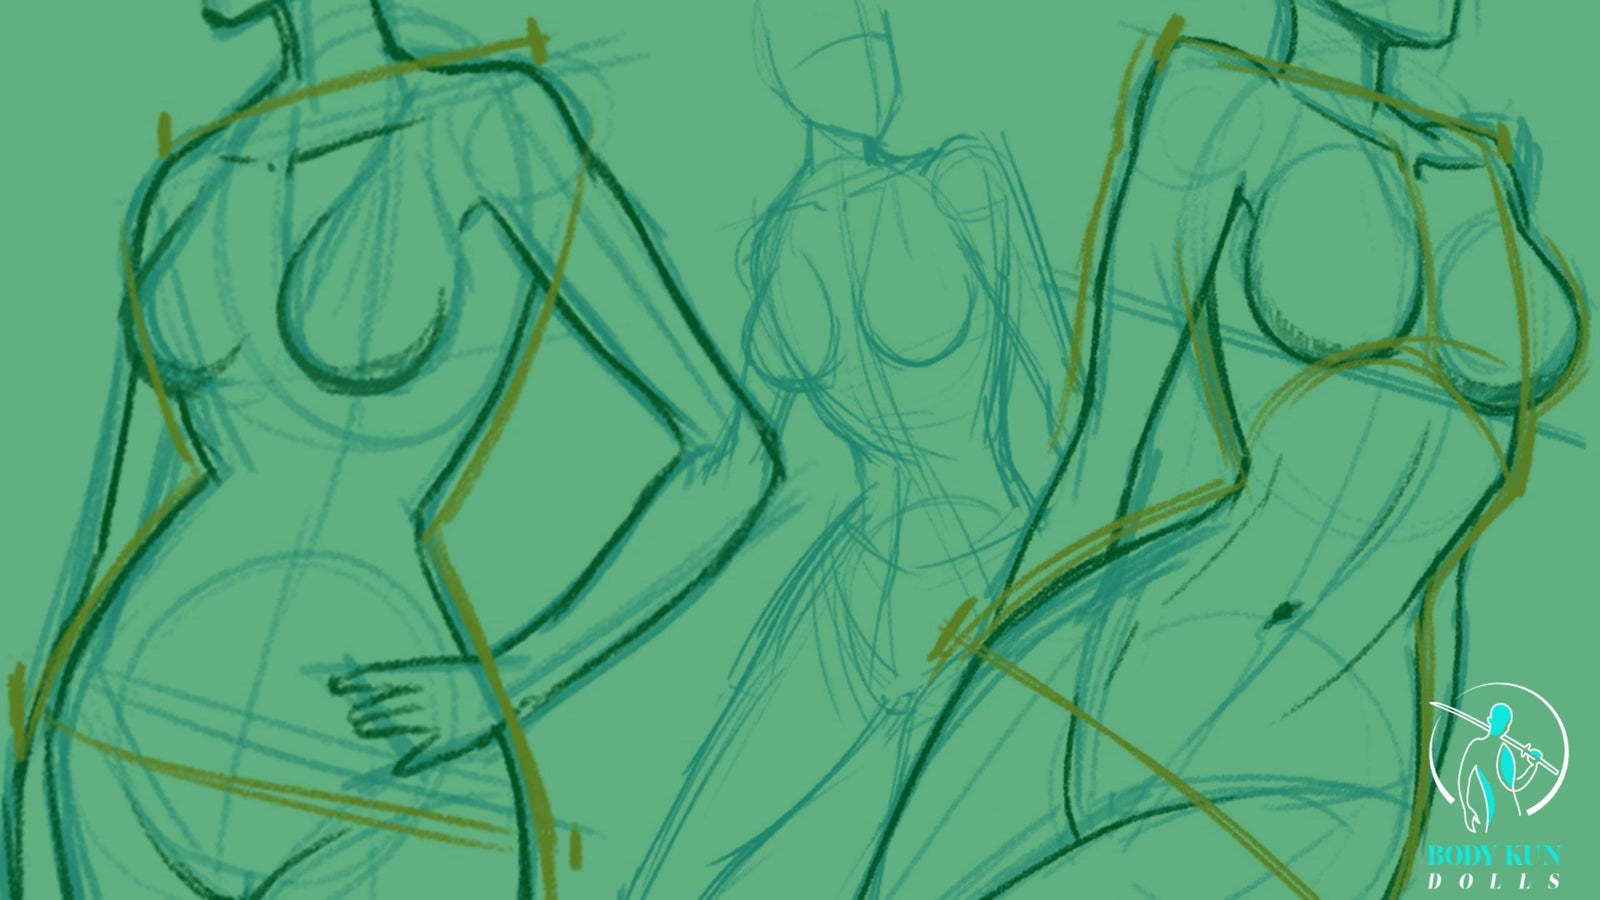
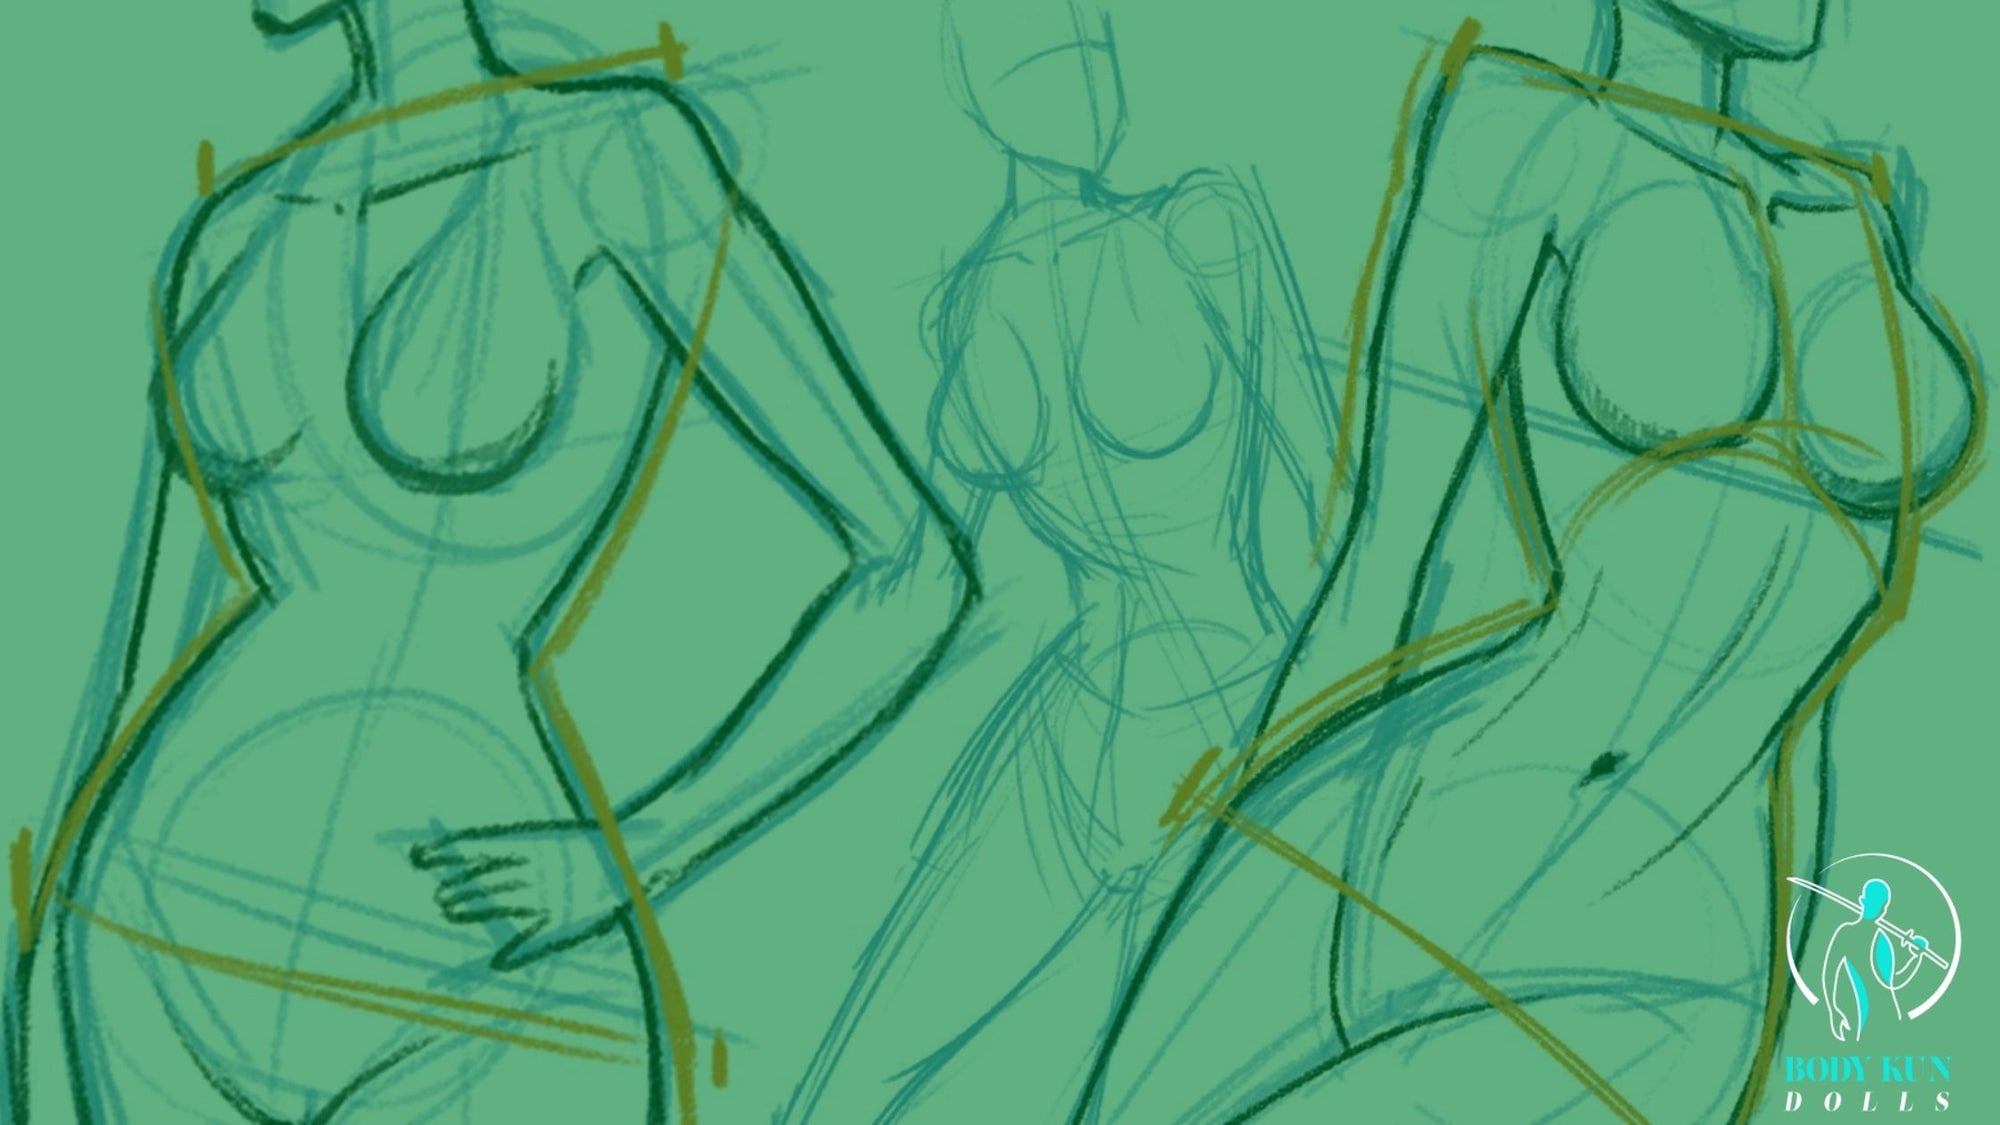
I'll begin our sketch of the female figure from the torso. Why the torso first? That's because once the torso is completed, it becomes much easier to sketch the remaining parts of the body. I'll also be using straight and curved lines to make the torso.
In the lower section of the torso, I'll draw a curved line to create a space between the ribcage and the abdomen.
As such, the curve's slightly higher area will be the point where the lower chest and breastbone ends.
Next, draw another curved line above the torso to determine the position of the character's neck.
After outlining the torso, you'll have to divide it. To do so, draw a vertical line from the neck's base to the line where the lower chest ends.
The distance between the neck's base and the lower chest end line will measure one head.
Because this figure is drawn from a ¾ perspective, one portion of the sketch will be somewhat hidden from the observer's view. Also, since the right part of the figure is the closer side, it'll be more prominent than its left part.
There's another part left to be drawn when drawing the torso: the breast's outline. For that, you'll have to make two ellipses on either side of the character's torso. check this amazing tut for the upper body by martelnyc.com
Now that I've outlined the torso, I'll be drawing the hips part of the character. I'll also be sketching the hips along with the crotch area in a way that seems like the woman is wearing an undergarment.
I'll then be joining the hips with the torso by sketching the abdominal region to create some gap between the two body parts.
Next, I'll extend the vertical line drawn in step 1 to the crotch area. In doing so, the drawing will have a three-dimensionality feel to it.
After outlining the hips and torso of the female body, proceed on to sketching the arms.
For this step, I'll start by drawing the girl's shoulders, which are typically depicted as inverted oval-shaped spheres.
Keep the top portion slightly flat when drawing the shoulders while the inverted sharp end points toward the bicep. Doing so will create a shape similar to the deltoid muscles (triangular-shaped muscle), giving the sketch a more lifelike body line.
Biceps & Triceps: Again, remember how the body is positioned for this drawing. And so, taking that into account, the right arm will be almost completely hidden from the view.
The left hand, however, will be in full view. In addition, the left arm will be considerably more prominent compared to the right arm. That's because, from the observer's perspective, it's closer.
For the biceps as well as triceps, I'll then be drawing tubes for both arms. The width of these tubes will gradually decrease towards the bottom once you reach the elbow area.
Forearms: Remember that the forearm on the left will be fully visible, while the right will be hidden behind the hips. Nonetheless, enough portion of the right forearm will be in view.
Draw a tube again for each forearm and connect the tubes' wider end to the elbows.
Additionally, make sure the elbow position is parallel to the floating ribs. The narrow end is where the wrist will connect.
The crotch and wrist also need to be aligned with each other.
Hands: For the hands, I'll be focusing more on the left hand as it's the one in view. I'll start creating the outline of the hand's dorsal side using simple geometric shapes.
Then, I'll draw a large irregular polygon with five sides representing the hand's back portion. For the fingers, I'll be sketching small rectangles.
After the arms' outline is done, I'll proceed straight towards drawing the legs of the girl's body.
Thighs: Let's start by creating the outline for the thighs. For this, I recommend drawing tubes (like I did for the biceps).
But for the limbs, it needs to be drawn about twice or thrice the size of the biceps.
When drawing, make sure the wider end connects the hips and the narrow end connects the knees.
Regarding the thighs' length, the space between the knee and crotch will measure two heads.
I'll then draw ellipses on each knee to represent the dividing lines of the joints.
Lower Leg: Considering the girl's pose, I'll draw the lower right and left legs from a full frontal and ¾ view, respectively.
For the exterior side of the lower leg, I'll use a short curve line at the top. I'll then descend towards the feet using a long curve line.
I'll then draw a curve to sketch the interior portion and make the curve below descend towards the feet.
Feet: Finally, I'll use trapezoids (geometric shapes) while tiny rectangles and circles depict the toes for the feet.
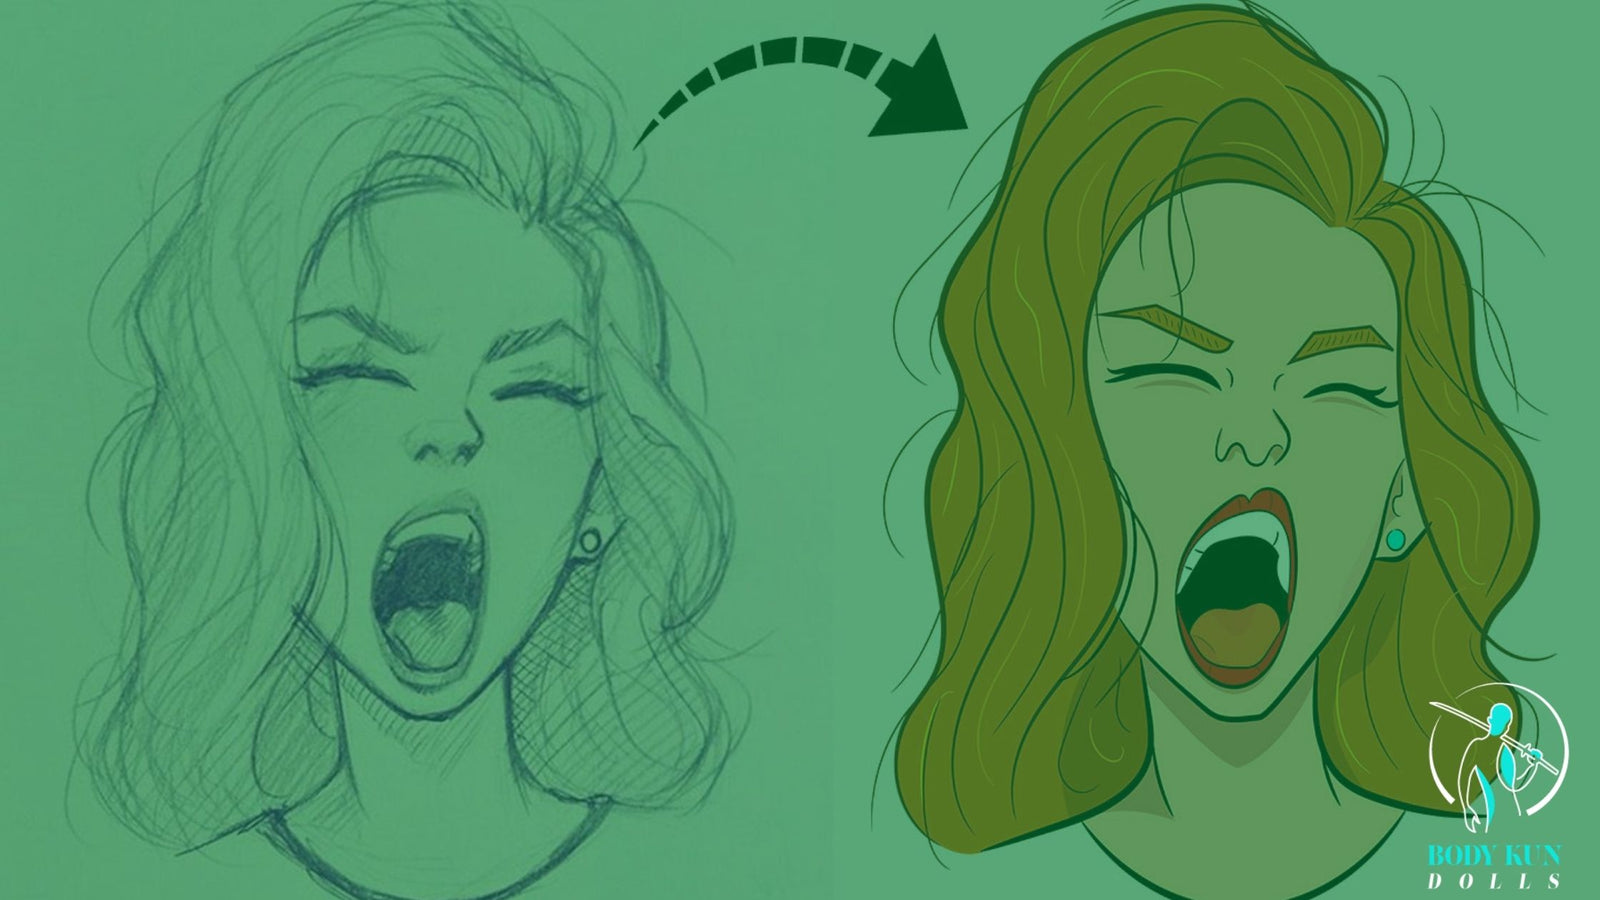
For the head, I'll make a sphere representing the face and the skull. I'd also suggest slightly flattening the bottom part as it'll define the jawline.
I'll then use an isosceles trapezoid to draw the neck, which will support the head. Next, I'll draw two curves horizontally across the sphere.
The upper and lower part of the curve will represent the eyes and mouth placements, respectively. Additionally, the upper line will also determine the position of the left ear. Finally, I'll draw two lines vertically across the face, with the left line placement for the nose.
For this step, it's essential to erase some bits of the dummy. Otherwise, it'll interfere with your sketch.
Face:
Draw two curves to represent the eyelids for the eyes. Also, draw the pupil by drawing a circle inside. For more details on sketching a human face, this tutorial is helpful.
Hands: Focus on aligning the knuckle bone with the finger at the center. Remember always to draw knuckles over the fingers.
Feet: Pay more attention to toes' length and make sure to create each successive smaller and shorter than the previous one.
Clothing: Draw a curve slightly above the crotch as it'll make it seem like the character is wearing underwear. Next, draw a sports bra by drawing two straps and connecting them to the breast outline.
Detailing is what helps in making your drawing look as lifelike as possible. Keep the details subtle and avoid fully drawing the lines dividing the muscle groups. Also, erase all the interfering lines, and you're all set.
Remember, if you're serious about learning how to sketch a realistic body (a female figure, in this case), it's imperative to know human anatomy.
Now, I'd like to hear your thoughts:
Do you think these drawing tips were helpful?
Or do you have any additional advice you'd like to add?
Either way, please leave your comments below and let me know.
Comments will be approved before showing up.

You're still looking to find the perfect pose to practice your figurre drawing art?
We've collected the best 7 drawing reference sources you can find online free and paid, here we have listed each and everything that you will need in your art journey in this quick guide.


If you want to take your art to the next level, you’ll need to refine your skills in human anatomy. Your anatomical knowledge is crucial in shaping the structure and capturing the movement of your illustrations.
Expert painter Jenő Barcsay notes that you have to study bones, joints, and muscles to understand how they can affect one’s external appearance and range of motion.