Your Cart is Empty
5 min read

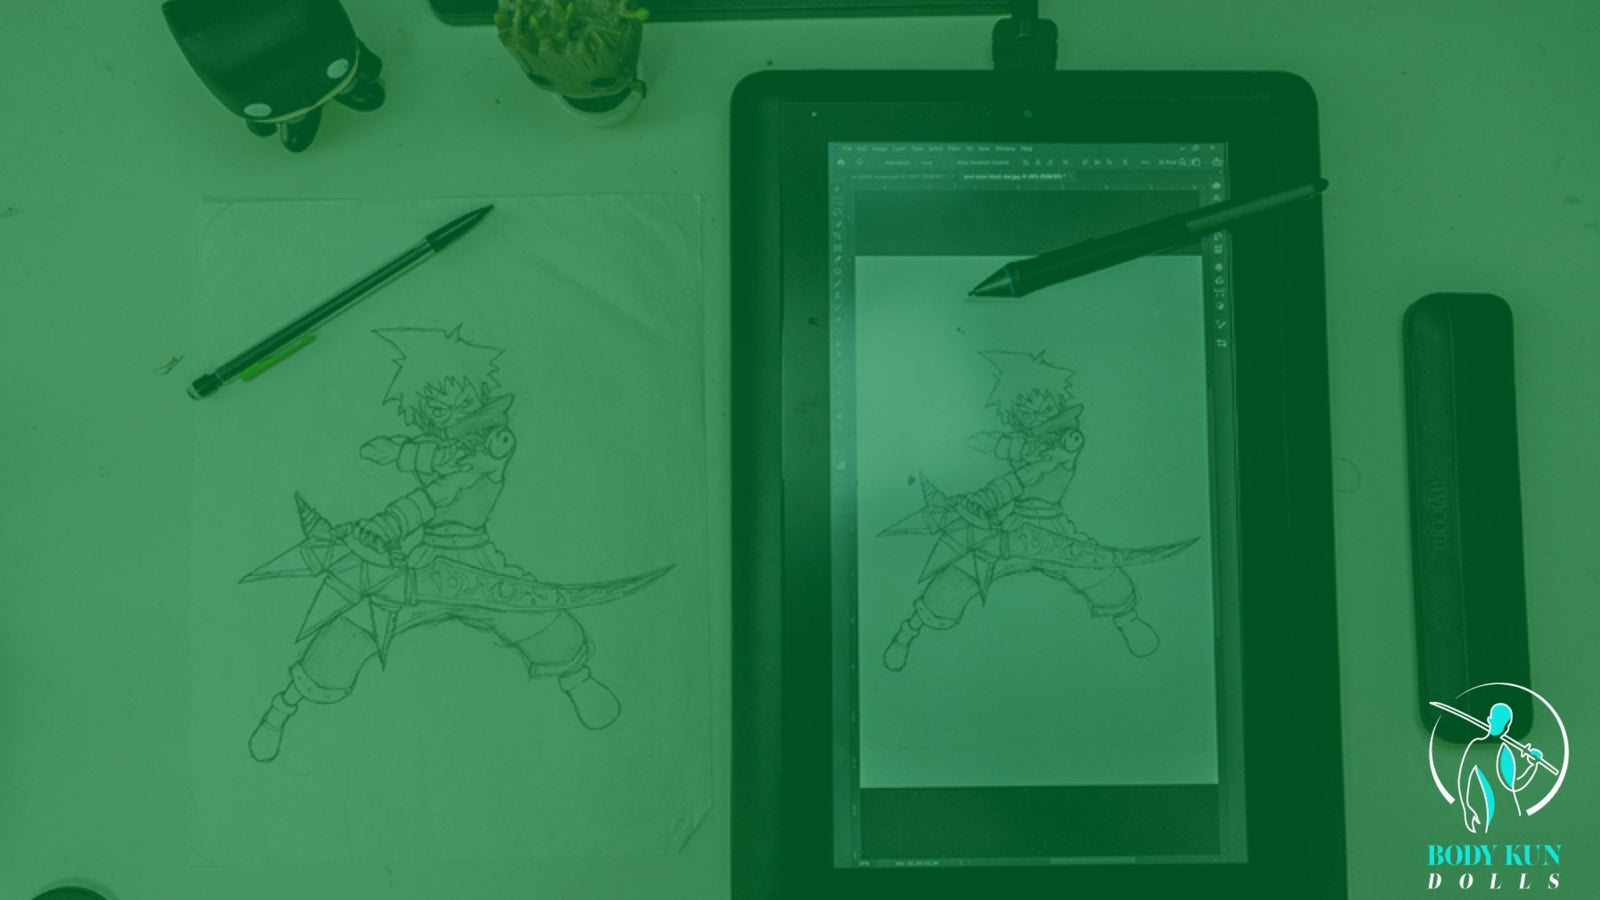
You can create digital art through different methods. Although drawing tablets are some of the most popular means of creating digital art, you can still draw unique digital art without them.
So, exactly how to draw digital art without a tablet? You can use additional hardware such as a mouse, a monitor, scanner, computer, and digital art software.
However, the alternate methods require you to practice your drawing skills with a mouse or learn how to use the software before getting started on the actual drawing.
With digital art, you get many perks that you might not enjoy if you are drawing traditionally. For instance, the ability to undo your previous mistakes is probably one of the best advantages of digital art. Unlike traditional drawings where you have to meticulously and manually erase your mistakes, you get a clean “erase” of your mistakes with digital art.
Let’s talk some more about how to draw digital art without a tablet. But, first, here are some of the hardware you might need:
You can use a mouse to draw digitally on your computer. This will require you to learn how to control your mouse effectively to get the strokes you want. You can use different programs and software with various additional features for your art, such as drawing lines, curves, and even shape tools that quickly help you create other forms.
You also get to use different brushes, pens, pencils, etc., with a variety of different strokes according to your desired design. With digital art on a computer, you can enjoy a much wider variety of colors, color mixing with different hues, and adjust the contrast and saturation as you like.
If you want a more accessible alternative, you can scan a photo or the picture of your choice onto your computer and finalize it later on. To do this, you will need a scanner that is compatible with your computer.
The scanning methods can be divided into two different processes you can follow to complete the digital art. First, you can edit the scanned photos to create the digital art of your choice. For example, you can make overlays and add more elements to the original scanned image to create a dynamic look.
Or you can edit it minimally, which will allow you to trace the art easily and re-create a completely new design or art piece.
This scanning method is a straightforward approach for those already skilled in controlling the mouse properly to get the desired lines and strokes. If not, you will have to learn how to handle the mouse well enough to trace your scanned picture.
Although this method is quite simple, you need to have a fair amount of practice to draw digitally, as it requires more effort and skill to get things just right. The more complex the original picture, the more difficult it will be to draw it digitally. The tracing part is not the challenge, especially if you are already skilled at controlling the mouse. Instead, the lighting, shading, and color mixing will be the greatest challenge for drawing digitally on a computer.

From Visually.
You can also go the more traditional way of digital art and draw freehand. Without the help of a scanned photo to trace, this might come off as more of a challenge than the prior methods, but it can yield results just as the previous method.
This method also frees you and helps you use your drawing skills mixed with creativity to create something unique truly.
Drawing on a mouse is considered a “disconnected” form of digital art since you are drawing on the mouse pad, but the drawing itself appears on screen, which physically has no connection with you.
However, using a tablet and a stylus imitates a paper and pen feel, making it a more traditional, “connected” form of digital art.
Because of this disconnection, it is quite a task for beginners to draw and imitate traditional or paper and pen drawing on the monitor. You require a different set of skills to draw with a mouse. However, it also depends on what type of software you are using. Each program has additional features. Therefore, you will use different methods to create the lines and strokes you want.
This means that the canvas where you will make the art and the art ink itself must be in contrasting colors. For example, black ink on a white page. This will help you see your art more clearly. Especially if you are using a mouse, the art is, like mentioned earlier, “disconnected.” Hence you will need this contrast to help you see where you are drawing with your mouse.
If you are going for the scanning method of digital drawing without a tablet, you will skip step one and use this step to start your desired digital art. First, make sure you have the resolution of the picture in the right setting to give you an excellent base to create your drawing.
This is ideal for those who do not have a scanner. You can skip Steps 1 and 2 and start with this step. You can take a new picture or use an old one. Make sure that you are taking the picture in a properly lit room or space so that you can catch all the details without casting shadows that may disturb your overall image.
You may also have to do some color correction, lighting edits, perspectives and even crop the image before having a finalized photo.
After choosing which method to go for, you can move on to this step from either step 2 or 3. Here you can choose between two options:
1. Cleaning edit: You will use the picture you have taken on your camera or the photo you have scanned and edited to produce your art.
1. Tracing: You are using the scanned picture or the photo as a base from which you will trace the image.
The process of tracing the photo will depend on the program or software you are using. Most programs will have the option for you to turn your picture into black and white to trace.
Whether you are creating the picture from scratch as in step 1 or using step 2 or 3, you will have to shade and color your photo to make it look more appealing. Even for black and white art, a slight shading will make your art look better.
This step is more accessible for those using the scanning method as you already have a base upon which you can mix and get the correct shade. Ensure that you zoom in and get the details on each area so that everything blends together. This is an added advantage for digital artists. You can easily zoom into your canvas and add in any details that you want. This is primarily a challenge for traditional art as you need painstakingly add in more minor details.
You will notice a difference between traditional and digital drawing, especially if you do not have a tablet and a stylus. You might also need some extra practice sessions to get acquainted with your new tools, such as the mouse and the software you will use to create your digital art.
Comments will be approved before showing up.

3 min read
You're still looking to find the perfect pose to practice your figurre drawing art?
We've collected the best 7 drawing reference sources you can find online free and paid, here we have listed each and everything that you will need in your art journey in this quick guide.

5 min read

5 min read
Do you wish to learn how to draw a female body realistically? If yes, then this article is for you!
This tutorial will provide you with seven easy steps to help you create an impressive realistic female body.